
# How to Use a Cooking Thermometer for Perfectly Cooked Meals
## Why a Cooking Thermometer is Essential
A cooking thermometer is one of the most valuable tools in any kitchen. Whether you’re grilling, roasting, or baking, using a thermometer ensures your food reaches the perfect internal temperature for both safety and taste. No more guessing if your chicken is done or worrying about overcooking that expensive steak!
Keyword: cooking thermometer
## Types of Cooking Thermometers
Before we dive into how to use one, let’s look at the different types available:
### 1. Instant-Read Thermometers
These provide quick temperature readings (usually within 2-5 seconds) and are perfect for checking doneness at the end of cooking.
### 2. Oven-Safe Thermometers
These remain in the food while it cooks in the oven, allowing you to monitor temperature without opening the door.
### 3. Probe Thermometers
These have a probe that stays in the food with a cord connecting to a digital display outside the oven.
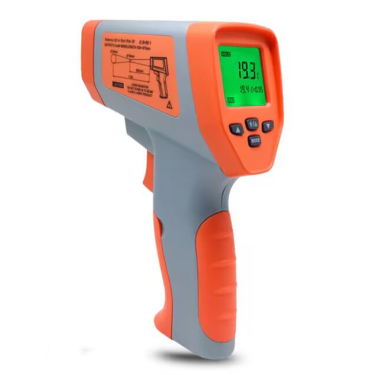
### 4. Infrared Thermometers
These measure surface temperatures without touching the food, great for checking grills or pans.
## How to Use a Cooking Thermometer Properly
### Step 1: Choose the Right Thermometer for Your Needs
Consider what you cook most often. For meats, an instant-read or probe thermometer works best. For candy or deep frying, you might need a specialized thermometer.
### Step 2: Know the Proper Placement
Insert the thermometer into the thickest part of the food, avoiding bones, fat, or gristle. For large roasts, check multiple spots.
### Step 3: Wait for the Temperature to Stabilize
With instant-read thermometers, wait until the reading stops changing. For oven-safe models, check periodically as cooking progresses.
### Step 4: Reference Safe Temperature Guidelines
Here are some key temperatures to remember:
– Poultry: 165°F (74°C)
– Ground meats: 160°F (71°C)
– Pork: 145°F (63°C) with 3-minute rest
– Beef, veal, lamb steaks/roasts: 145°F (63°C) with 3-minute rest
– Fish: 145°F (63°C)
## Tips for Best Results
Clean your thermometer after each use with warm, soapy water to prevent cross-contamination.
Calibrate your thermometer regularly by testing it in boiling water (should read 212°F/100°C at sea level) or ice water (32°F/0°C).
For thin foods like burgers or chicken breasts, insert the thermometer from the side to get to the center.
Remember that food continues cooking after removal from heat (carryover cooking), so you might want to remove it a few degrees below target temperature.
## Common Mistakes to Avoid
1. Not Checking Multiple Spots
Large cuts of meat can have temperature variations. Always check several areas.
2. Relying on Cooking Time Alone
Oven temperatures vary, and food sizes differ. Time is just an estimate – temperature tells the true story.
3. Not Letting Meat Rest
After removing meat from heat, let it rest for 3-5 minutes (up to 30 minutes for large roasts) to allow juices to redistribute.
## Conclusion
Mastering the use of a cooking thermometer will transform your culinary results, giving you perfectly cooked meals every time while ensuring food safety. Invest in a quality thermometer, learn proper usage techniques, and say goodbye to overcooked or undercooked dishes forever!